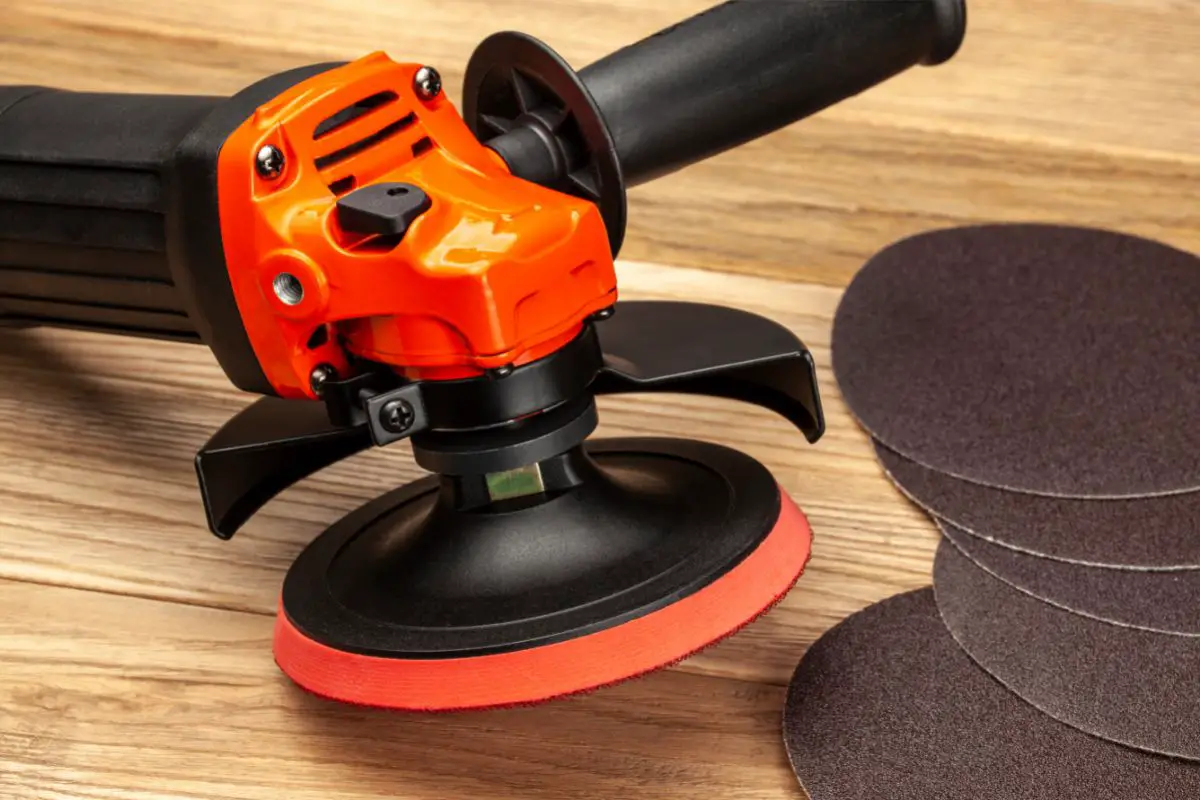
The blade of an angle grinder is the main component that allows the grinder to function at all. Angle grinder blades work by rotating at incredibly high speeds anywhere from 2,000 to 12,000 rpm to cut and polish even the hardest of materials.
Because they often are cutting through extremely heavy and demanding materials, angle grinder blades can quickly wear down, especially after continuous use on tougher concrete or bricks.
In this situation you will need to change the grinder blade, luckily this will not take a huge amount of effort or time and can be done quite easily, keep reading below to find out the easiest method of switching blades along with which blade is best for your angle grinder.
When Should I Change An Angle Grinder Blade?
One main sign you can tell that the blade of an angle grinder may need replacing is if the grinder starts to cut through material far slower than usual.
If it is taking up to a few minutes to cut through materials that usually can be cut in far less time, then you know the blade is worn down and needs replacing.
Additionally, if you notice any visible damage including cracks or dents in a blade, it must be replaced right away as using a damaged blade in this state can splinter during use.
Another sign of severe damage is if the blade has actually gotten smaller causing the blade’s guard to get in the way, this can often obstruct cutting and make it far more of a nuisance than it needs to be.
With that being said, when you know it’s time to replace a blade here is a step by step process of how to do it quickly and safely.
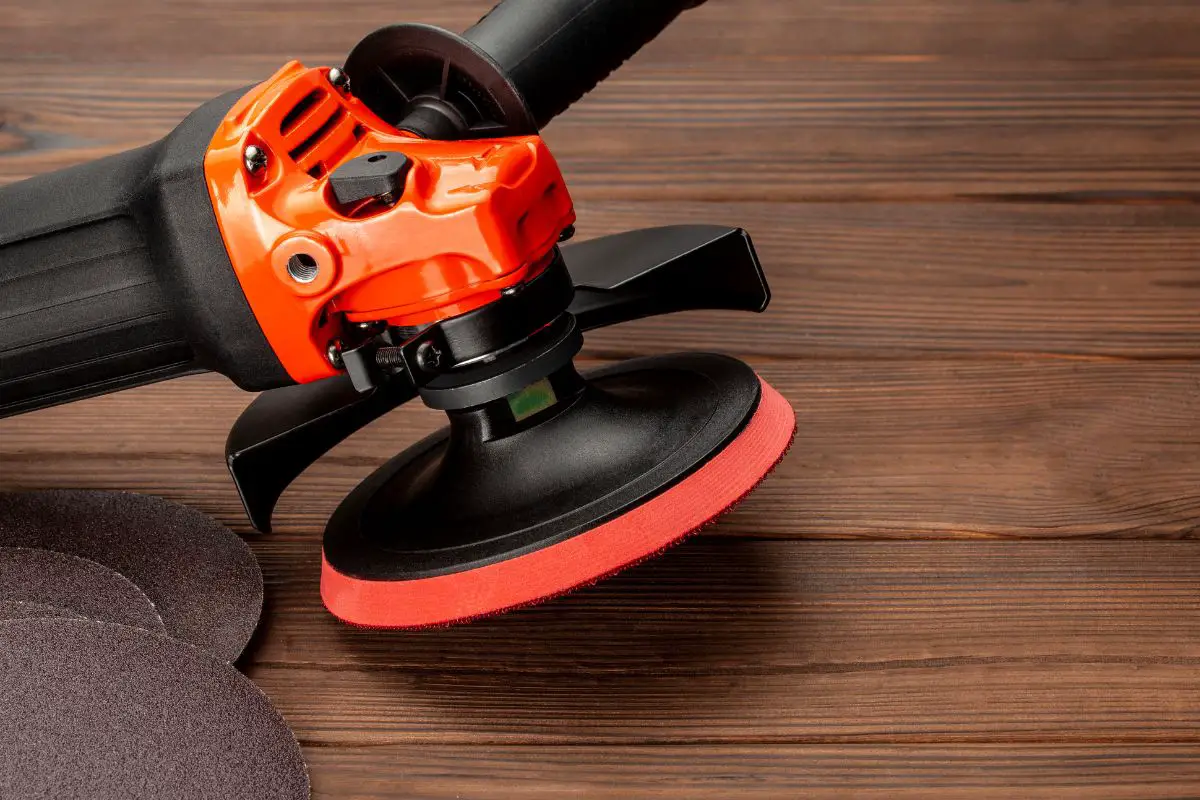
Step 1 – Choosing The Right Disc
First you will need to know what disk you are going to switch your current one out for as they are all suited to different materials.
Most grinders will not require a disc below 0.4 inches however you can use a 0.3 blade if you want to cut through very thin sheet material.
For heavier materials, any blade with a 0.6 inch thickness or higher will cut through much easier without any dangers of being damaged or breaking during the process, just keep in mind these heavier discs will heat up much faster and cut slower when in use.
Step 2 – Turn Off Power
Once you have the blade and are ready to replace the older one, start by making sure the angle grinder itself is powered off.
While this may seem obvious, it can actually be very easy to turn on the grinder while replacing the blade which can result in some really nasty accidents, so it’s always better to be safe than sorry.
Step 3 – Locate Wheel Lock Button
This is often found at the top of the gearbox, press and hold this button down with one hand.
Some older angle grinder models may not have a lock button, if this is the case it can make the process a little more difficult as you won’t be able to control the spin of the blade.
If you don’t have a lock button, you can hold the blade in place but always make sure you are using vice grips or a gloved hand to practice extra caution.
Step 4 – Rotate Flange-Nut With Pronged Wrench
Next you will need to use a pronged wrench, these often come in the box with angled grinders however they can be easily bought if you don’t have one.
Use the pronged wrench to rotate the flange nut in a counterclockwise motion.
Step 5 – Remove Blade
Once the nut has been removed, place it somewhere safe as you will need it later to reinstall the blade.
The old blade will now be loose and ready to take out, simply lift it up and remove it out of the grinder with caution.
Step 6 – Insert New Blade
Now you will be ready to slide your new blade into the angle grinder. Simply lower the blade onto the grinder into the drive bolt. Next, get the locking nut that was removed earlier, reattach it and spin it clockwise by hand to tighten the new blade into the grinder.
If you rotate the nut in one hand and spin the disk with the other, the blade will be fastened in no time.
Step 7 – Test The Blade
Finally you will want to test the grinder to ensure it is working properly and will cut efficiently when you begin using it.
To test this, simply plug the grinder back into a power source and turn it on. The blade should spin freely, if you notice any stuttering or wobbling then it may be a bit loose or the nut has not been secured properly so it’s best to remove it and just make sure it is as tight as it can be.
If it spins smoothly with no catches however, then your blade will be ready to cut and good to go. Just make sure to place the pronged wrench in a safe area as it is the main tool necessary for removing and inserting blades if you ever need to do it again in the future.
You can even try cutting it on a few materials to test how fast it can go, just try using something soft to start off with so the material is not too demanding on the blade from the get go.
Summary
If you notice any damage on your blade or if it’s not cutting as fast and precisely as it used to, then it might be time to switch the blade out for a newer one.
As has been shown however this can be done quite easily with the right tools and should not take up too much time or effort.
Just always make sure to stay safe during this process by switching the grinder off and using gloves if your grinder is an older model and lacks a lock button, just so there are no accidents caused while fitting the machine with a new shiny blade.